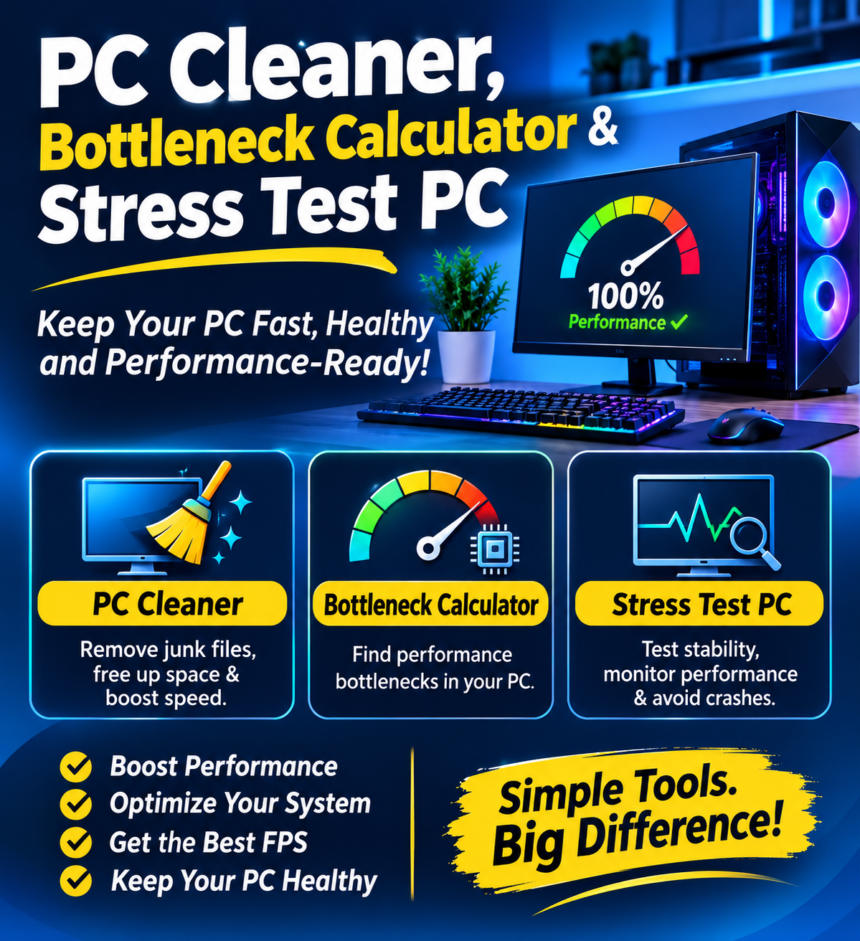
When a computer starts to feel slow, the usual reaction is to blame old hardware and start shopping for a new graphics card or processor. That can be an expensive mistake. Many performance problems come from clutter, mismatched components, or instability that you can identify for free. A smarter approach is to follow three steps in order: clean the system, find out which part is actually limiting performance, and test whether everything stays stable under pressure. Here is how to do it.
Step 1: Clear the Clutter That Slows Everything Down
Over months of use, Windows collects temporary files, browser caches, leftover installer data, and startup programs that you may have forgotten about. Individually they look harmless, but together they can fill up your drive, lengthen boot times, and keep unnecessary processes running in the background.
You can start with Windows’ built-in tools. Open Settings, go to System, then Storage, and review what is taking up space. Disable startup apps you don’t need from Task Manager, and clear your browser cache regularly. If you want a faster and more complete cleanup, a dedicated PC cleaner can handle junk files, privacy traces, and startup items in a single scan. Advanced SystemCare Free is one option that combines these routine maintenance tasks, which is helpful if you don’t want to dig through multiple menus every month.
A clean system gives you a fair baseline. Without that, it is hard to tell whether a slowdown comes from clutter or from a real hardware limit.
Step 2: Identify the Real Bottleneck
Once the system is tidy, the next question is whether your hardware is balanced. A bottleneck happens when one component holds back the others. A powerful graphics card paired with an older processor is a classic example: the GPU waits for the CPU to feed it data, so you never see the performance you paid for. The reverse can also happen, where a strong CPU is limited by a modest GPU in demanding games.
Here are some common signs of a bottleneck:
- Your GPU usage stays low while your CPU sits near 100% during gameplay.
- Frame rates stay flat even after you lower graphics settings.
- Performance drops in CPU-heavy tasks such as video editing, large multitasking sessions, or open-world games.
- Upgrading one part gives a much smaller improvement than you expected.
You can watch usage in Task Manager’s Performance tab, but it only tells part of the story. To compare how well two parts work together, a bottleneck calculator is a practical shortcut. You enter your CPU and GPU, and the tool estimates which one is more likely to limit performance. It is especially useful before buying new hardware, because it helps you avoid pairing parts that don’t suit each other. Keep in mind that the result is an estimate. Real performance also depends on resolution, game settings, RAM speed, and the software you use, so treat the result as guidance rather than a final verdict.
Step 3: Test Stability Under Heavy Load
A PC can feel fine during light use and still fall apart when pushed. Random crashes, sudden restarts, blue screens, and games that close without warning are often signs of overheating, an unstable overclock, a weak power supply, or failing components. These issues rarely show up in everyday browsing, which is why testing under load matters.
After a cleanup and a hardware review, it is wise to stress test PC components by running them at high usage for a sustained period. While the test runs, keep an eye on a few key points:
- Temperatures: CPU and GPU temperatures that climb steadily or hit very high levels suggest poor cooling or dried thermal paste.
- Clock speeds: If speeds drop sharply during the test, your hardware may be thermal throttling to protect itself.
- Stability: Crashes, freezes, or errors during the test point to a hardware or power problem that needs attention.
- Fan behavior: Fans that are extremely loud or not responding properly may need cleaning or replacement.
It is best to run these tests when you aren’t doing anything important, and to stop immediately if temperatures become unsafe. Also make sure your laptop is plugged in and has proper airflow before starting. Stress testing is particularly valuable after building a new PC, installing new parts, adjusting overclock settings, or buying a used machine.
Putting the Three Steps Together
Each step answers a different question, and the order matters:
- Is my system clean? Remove clutter first so you are not chasing problems that don’t exist.
- Is my hardware balanced? Check for a bottleneck so any upgrade goes to the right component.
- Is everything stable? Test under load so you catch cooling or power issues before they cause data loss or crashes.
If you follow this routine every few months, you will spot small problems early and make smarter buying decisions. In many cases, you will find that a cleanup and a better-balanced setup are enough to bring back the speed you thought you had lost.
Final Thoughts
Upgrading hardware is sometimes necessary, but it should not be your first move. By cleaning your system, identifying the true bottleneck, and testing stability under pressure, you give yourself clear evidence of what your PC actually needs. That saves money, reduces frustration, and helps your computer last longer. A little regular maintenance goes a long way toward keeping it fast and reliable.